

BOPP Masterbatch Recommendations for Optimal Film Quality
2026-11-02
Ask any BOPP line operator about film defects and the conversation quickly turns to masterbatch. Poor dispersion, unstable viscosity, or pigment agglomeration can quietly erode clarity and tensile strength. These BOPP masterbatch recommendations for optimal film quality are built from field data, not guesswork—and include options from Xinwancai that consistently hit spec without slowing production.
Choosing a Carrier Resin That Matches Your BOPP Line
Carrier resins that work fine on a cast film line often fall apart on a BOPP line simply because the stretching step punishes any mismatch in crystallization speed. A BOPP-grade carrier should have a melt flow rate close to your base polypropylene, but more importantly it needs to survive the machine-direction orientation without creating micro-voids or stretch bands. Pay attention to the carrier's isotacticity and how quickly it sets up after the die; if it crystallizes too fast, you will see haze spikes and uneven gauge right after the MDO.
The processing window on a BOPP line is narrower than most people expect. A carrier resin that is only two or three melt flow points away from the base resin can still cause visible die lines and poor pigment dispersion because the melt streams do not blend uniformly in the extruder. Ask your resin supplier for a batch that matches the actual lot of PP you are running that week, not a generic datasheet value. Then run a short trial at normal line speed and check a roll of film under polarized light; any waviness or streak pattern usually traces back to carrier incompatibility before you even look at additive loading.
Do not overlook thermal history. Carrier resins that sit in a hot feed throat or pass through a long residence time screw can degrade and form gels, which then tear during transverse orientation. If your line runs high-output, look for a carrier with a stabilizer package designed for repeated extrusion, and confirm that its melt viscosity stays flat after three passes through a small lab extruder. This kind of check costs less than a single day of lost production and tells you more than any technical bulletin.
Additive Blends for Clearer Film Without Extra Haze
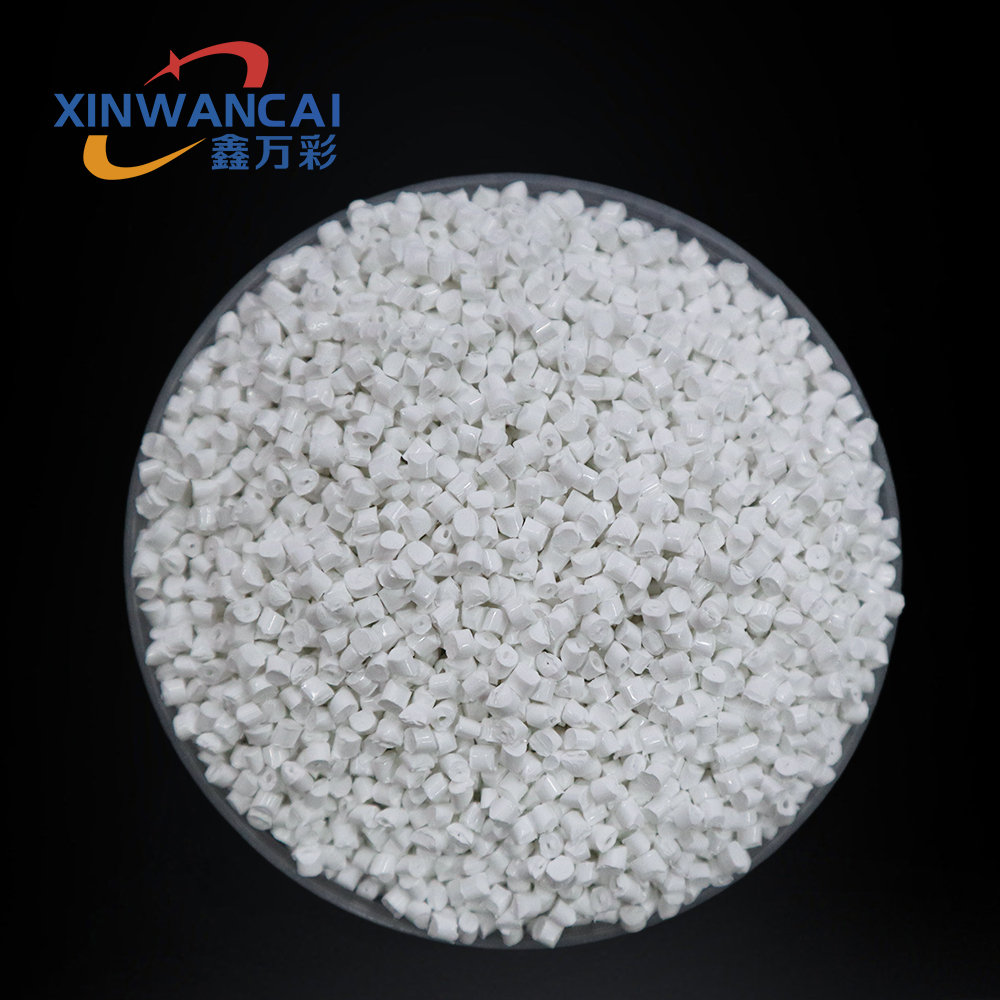
Combining clarifying agents with the right slip and antiblock package often comes down to particle size and refractive index matching. A well-chosen synthetic silica with a narrow size distribution can preserve film-to-film separation while keeping haze gain under a few tenths of a percent, whereas a mismatched mineral filler can scatter enough light to erase the clarity benefit.
Blends that pair a sorbitol-based clarifier with a low-haze amide slip tend to outperform single-additive approaches. The clarifier increases nucleation density and accelerates crystallization, which reduces spherulite size and lowers internal haze, while the slip keeps surface friction within packaging line requirements without introducing visible bloom.
Process conditions still matter. Running the blend at a slightly lower melt temperature or adjusting the chill roll temperature can push haze values below 2% even in multilayer films, as long as the additive package is not overloaded beyond its solubility limit.
Why Dispersion Quality Determines Film Consistency
The link between dispersion quality and film consistency comes down to how evenly particles are separated before the coating or casting step. When agglomerates remain in the slurry, they create local variations in packing density as the film dries. These dense clusters pull solvent away from surrounding areas at different rates, leading to thickness fluctuations that are often invisible in the wet state but become obvious after curing.
A well-dispersed system allows each particle to settle or align under the same capillary forces, producing a uniform network that resists cracking and delamination. Conversely, even a small fraction of poorly wetted aggregates can act as stress concentrators. As the film shrinks, those points fail first, creating pinholes or microscopic tears that compromise barrier properties and optical clarity.
In practice, controlling dispersion means paying attention to both the energy input during mixing and the stability of the suspension over time. A dispersion that looks smooth immediately after milling can re-agglomerate before application if the stabilizer package is weak. The resulting film will show subtle but repeatable defects—mottling, haze, or uneven gloss—that trace directly back to particle distribution rather than the base material itself.
Preventing Plate-Out and Build-Up During Stretching
Plate-out rarely announces itself. You'll notice a faint haze on the rolls first, then a sticky film that grabs at the sheet edge. Skip the temptation to crank up line speed or add more slip agent—that only pushes the problem further down the line. Instead, pause and check your stretch ratio. Running too tight for the polymer's melt strength forces low-molecular-weight fractions to sweat out. Drop the ratio by 5–8% and watch the haze clear within a dozen cycles.
The real culprit is often dwell time in the preheat zone. If the web lingers too long at 10–15°C below the Vicat softening point, additives migrate and deposit on the downstream nip. Shorten the preheat length or boost air velocity slightly to even out the surface temperature. A 2–3°C drop at the edges is enough to start the build-up—thermal imaging every shift will catch it before you see the streak.
When you do get a stubborn deposit, don't reach for abrasive pads. A slow wipe with a soft felt roll soaked in warm water and a mild alkaline cleaner removes most organic residue without scratching the chrome. Follow with a dry lint-free pass. If the plate-out returns within an hour, it's not a cleaning issue—it's your additive package. Switch to a lower-molecular-weight slip or reduce the masterbatch loading by half a percent. The film will forgive you.
Slip and Antiblock Levels That Keep Reels Moving
Film reels jam when surface friction gets out of hand. Slip agents migrate to the film surface over time, reducing the coefficient of friction just enough to keep layers from sticking without making the reel too slick to wind evenly. The trick is matching the slip level to the line speed and film gauge—too little and you get blocking on the roll, too much and tension control goes sideways.
Antiblock additives work differently. They create microscopic bumps on the film surface, which prevent two smooth layers from achieving full contact and forming a vacuum-like seal. The particle size and loading need to be tuned carefully; oversized particles show up as haze or print defects, while undersized ones don't do the job. Most converters blend both approaches, letting the slip handle dynamic friction while the antiblock manages static cling during storage and unwinding.
Field adjustments usually come down to environmental conditions. High humidity softens film surfaces and demands a higher slip level, while cold storage makes films stiffer and more prone to blocking. Rather than guessing, run a quick coefficient-of-friction test on the actual reel after 24 hours—that tells you whether the reel will move smoothly through the next process or stall out halfway.
Temperature Profiles That Protect Masterbatch Performance
A thermoplastic masterbatch rarely degrades uniformly across the screw. What matters is the thermal profile the material actually experiences, not just the barrel set points. Higher melt temperatures near the die can push low-molecular-weight additives toward volatilization, while a cold zone just after the feed throat often leaves pigment agglomerates intact. Matching the temperature ramp to the carrier resin's melting range keeps the concentrate fluid enough to wet pigments without forcing the entire mass through a prolonged high-heat soak.
Flat or rapidly spiking profiles cause more problems than a modestly elevated baseline. A long residence time at 230°C may be harmless for a PE-based carrier, but the same curve can destroy a near-infrared absorber in an EVA carrier. The sensible approach is to start with the resin supplier's recommended melt temperature, then reduce the feed-zone setting by 10–15°C and allow a gradual 5–8°C rise per barrel section. This prevents a sharp viscosity drop that leads to surging and uneven pigment distribution.
Operators should also distinguish between barrel temperature and true melt temperature. A thermocouple reading of 215°C can accompany a melt that is locally 20°C hotter due to shear heating in a high-intensity screw. Periodic checks with a needle probe or infrared sensor reveal these spikes before they degrade the masterbatch's functional additives. Recording the effective profile for each product—not just the selected values—creates a reference that protects batch-to-batch color consistency and additive performance.
FAQ
Match the carrier resin's melt flow rate to the BOPP extrusion grade you're using. A mismatch can create visible gels or uneven stretching during orientation.
For high-opacity white films, start around 8-12% masterbatch loading. Lower levels may look streaky after biaxial orientation; higher levels can reduce film toughness.
Check your screw design and temperature profile. Inadequate mixing before the die often shows up as fisheyes after stretching. A slightly higher melt temperature or a mixing section can help.
Standard PP masterbatch often contains larger pigment agglomerates or incompatible waxes that fail under high draw ratios. Use a BOPP-specific grade with finer pigments and heat-stable additives.
Slip agents migrate to the surface and can create haze if overdosed. Antiblock particles must be small and uniform; larger particles scatter light and reduce gloss, especially in thin films.
Avoid low-molecular-weight additives like some amides or stearates that volatilize and condense on chill rolls. Choose high-purity, thermally stable masterbatches and monitor die buildup.
Keep bags sealed and away from moisture and direct sunlight. Moisture absorption can cause hydrolysis of some additives and create bubbles or surface defects during extrusion.
Run a small-scale cast film trial first, check for gels, haze, coefficient of friction, and color consistency after orientation. Then scale up to a full BOPP line with a short trial.
Conclusion
Getting the most out of a BOPP line often comes down to how well the masterbatch matches the realities of the process. Start with a carrier resin that mirrors the base polypropylene—not just in melt flow, but in the way it stretches and crystallizes under high orientation. A mismatch here can show up as uneven film thickness or weak points that only appear after metallization. Beyond the carrier, clarity depends on additive blends that are engineered for low haze, not simply loaded with more optical brightener. Overdosing those additives can backfire, creating micro-roughness that scatters light. The real work happens at the dispersion stage: if pigments or anti-block particles aren’t broken down to their primary size and evenly distributed, you’ll see gels, streaks, and inconsistent COF values across the web.
Equally important is what happens during stretching and winding. Plate-out on dies or draw rolls is usually a sign of incompatible low-molecular-weight additives migrating too early—choosing a masterbatch with thermal stability tuned to your line speed prevents that build-up. Slip and antiblock packages need to be balanced: too much slip can cause reel telescoping, while too little leads to blocking on the roll. Finally, watch your temperature profile. If the masterbatch is processed well above its recommended range, you risk degrading the very additives meant to improve film performance. A stable, well-matched thermal window keeps everything working together, from the first stretch to the final unwind.
Contact Us
Contact Person: JACK
Email: [email protected]
Tel/WhatsApp: 86 18650130917
Website: https://www.xinwancai.com/